One-Click Filters: Black & White, Vintage & Cinematic
The same photo with the right filter becomes a completely different story: the restraint of black & white, the warmth of vintage, the drama of cinematic teal-and-orange. Filters are the cheapest way to make an image "pop". Web PSEditor ships with multiple one-click effects, all rendered locally in real time — experimenting costs nothing and undo is instant.
Four Popular Looks at a Glance
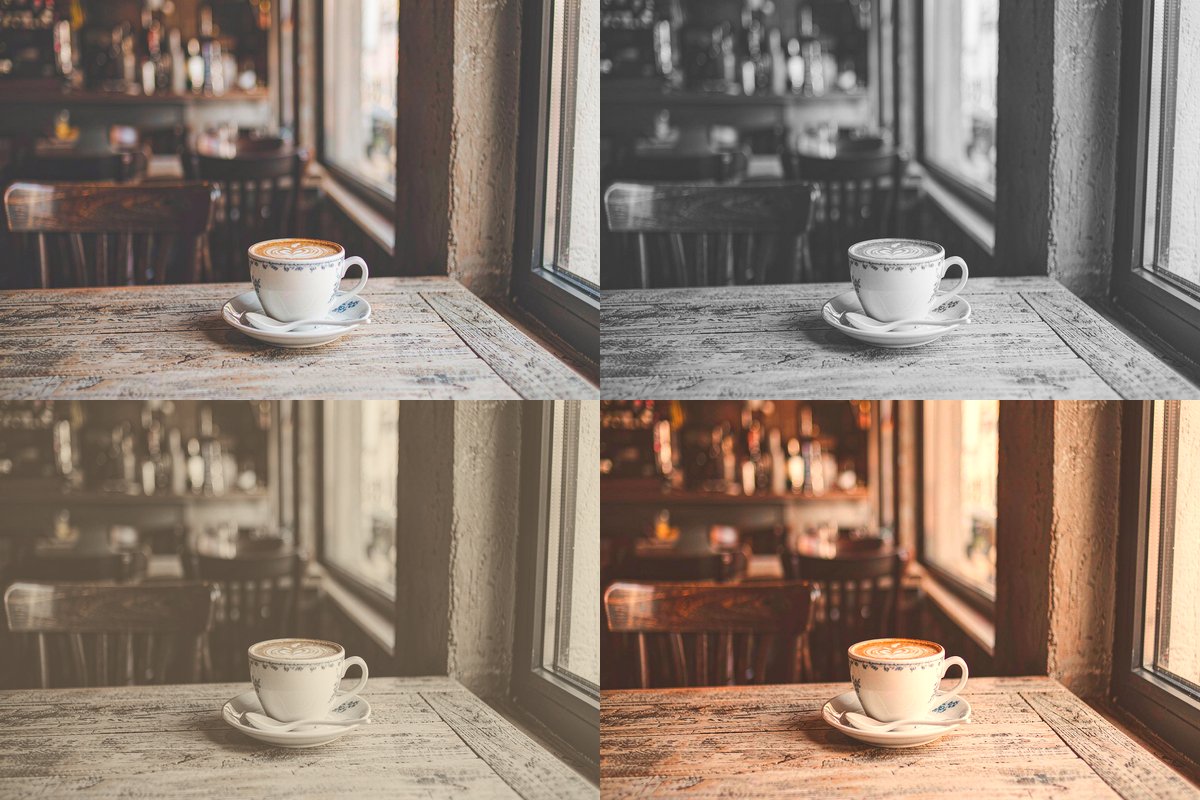
How to Apply
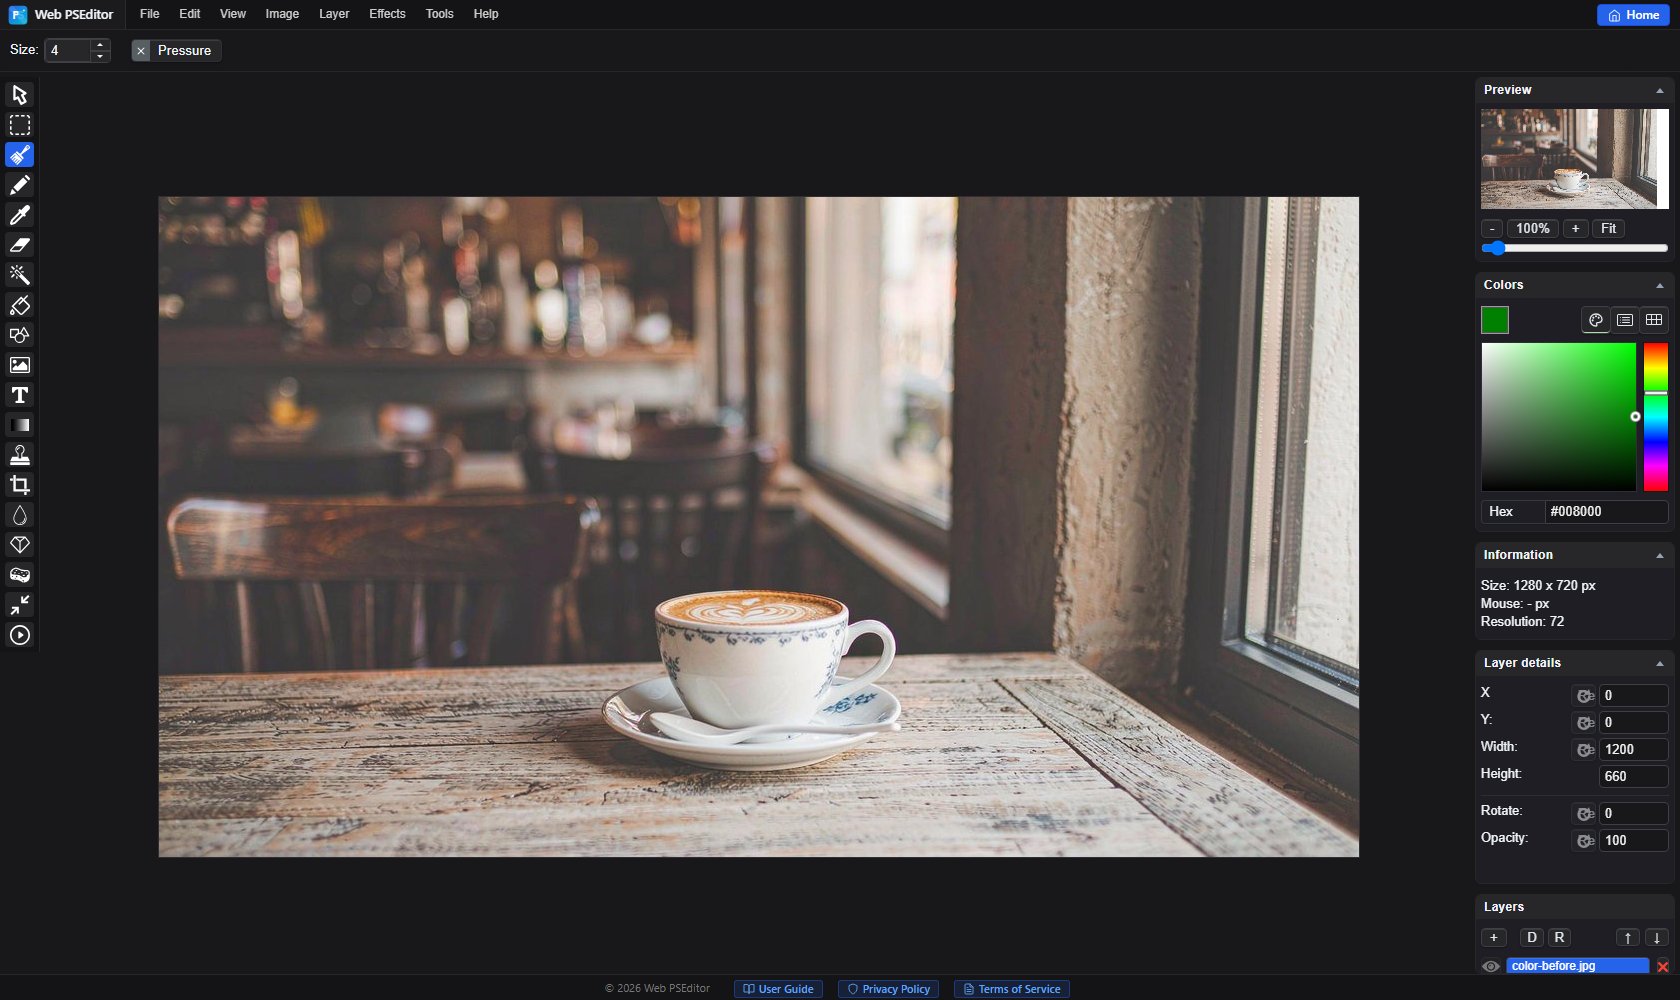
Open a photo and click the Effects menu:
1. Black & White: pick a grayscale/desaturate effect — ideal for street, architecture and portraits.
2. Vintage: sepia/fade presets give an instant film vibe.
3. Cinematic: use teal-and-orange style presets with slightly raised contrast.
Default filter strength is often too strong. Lower the effect layer's opacity to 50–70% in the layers panel, or paint parts back with the eraser for a stylish "partial color" look.
Add Vignette or a touch of grain/noise on top to double the film feel. Less is more.
Save via File → Save As as JPG. For social media, a long edge of 1080–1280 px balances sharpness and file size.
Open the editor and try the black & white or cinematic filter on your own photo.