PNG vs JPG: Transparency, File Size & Export, Explained
"PNG or JPG?" — choose wrong and your file is either too big to send, too blurry to use, or the transparency you needed turns into ugly white blocks. The whole decision boils down to three sentences. Read on and you'll never hesitate again.
One Image Tells the Story
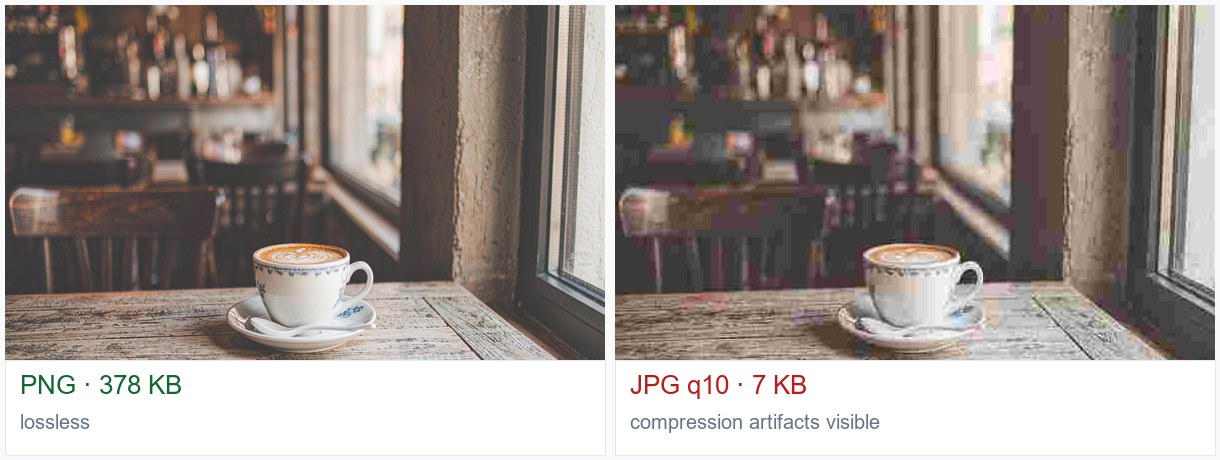
The Decision in Three Sentences
1. Need transparency (cutouts, signatures, stickers) → PNG only; JPG cannot store transparency.
2. Need crisp text or further editing (screenshots, design drafts) → PNG, lossless and re-editable.
3. Just sharing photos (people, landscapes, products) → JPG at quality 85: about 10× smaller, visually identical.
Exporting in the Editor
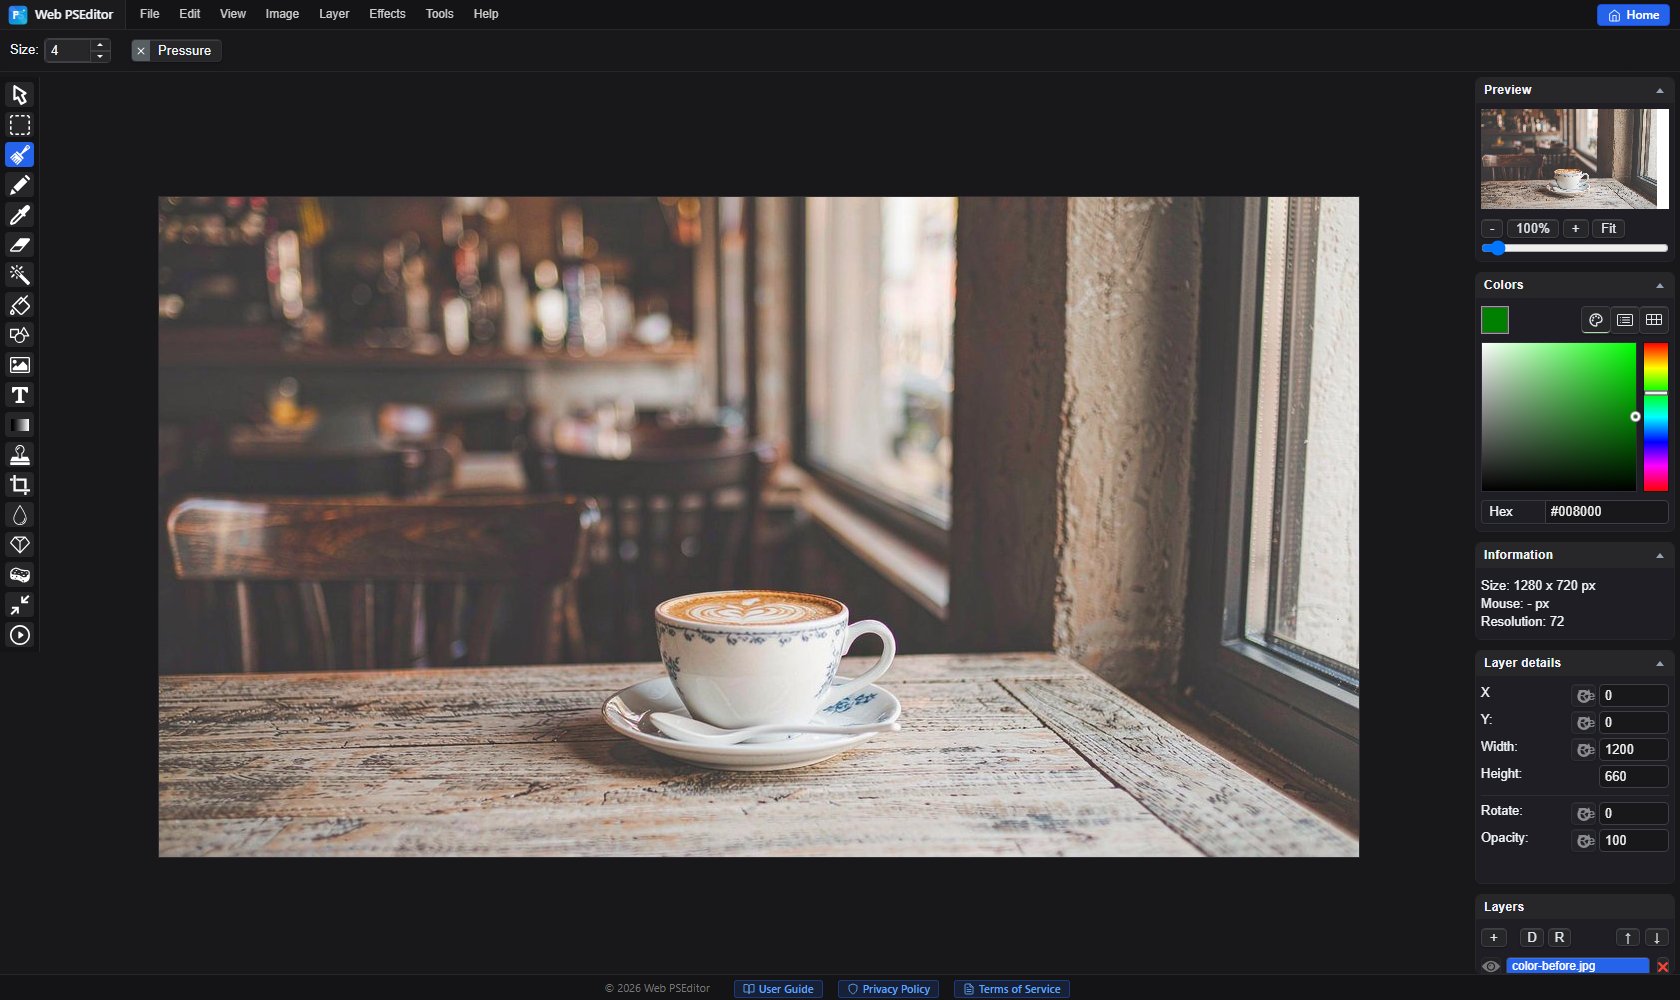
When your edit is done, click File → Save As and pick PNG or JPG in the dialog.
Use JPG quality 85–90: the best balance of near-lossless looks and much smaller files. Below 70 shows visible blocks; above 95 the file balloons with no visible gain.
If your image has transparent areas (a cutout person, for example), PNG is required to keep them. Make sure layers aren't flattened unless intended.
Open the editor and export the same image as PNG and JPG to compare.