Advanced: Mastering Layers & Blend Modes Online
The hallmark of serious image editing is non-destructive layering. Web PSEditor gives you pro-grade layer stack flexibility — every layer can carry its own opacity and blend mode, and you can change them at any time without destroying a single pixel.
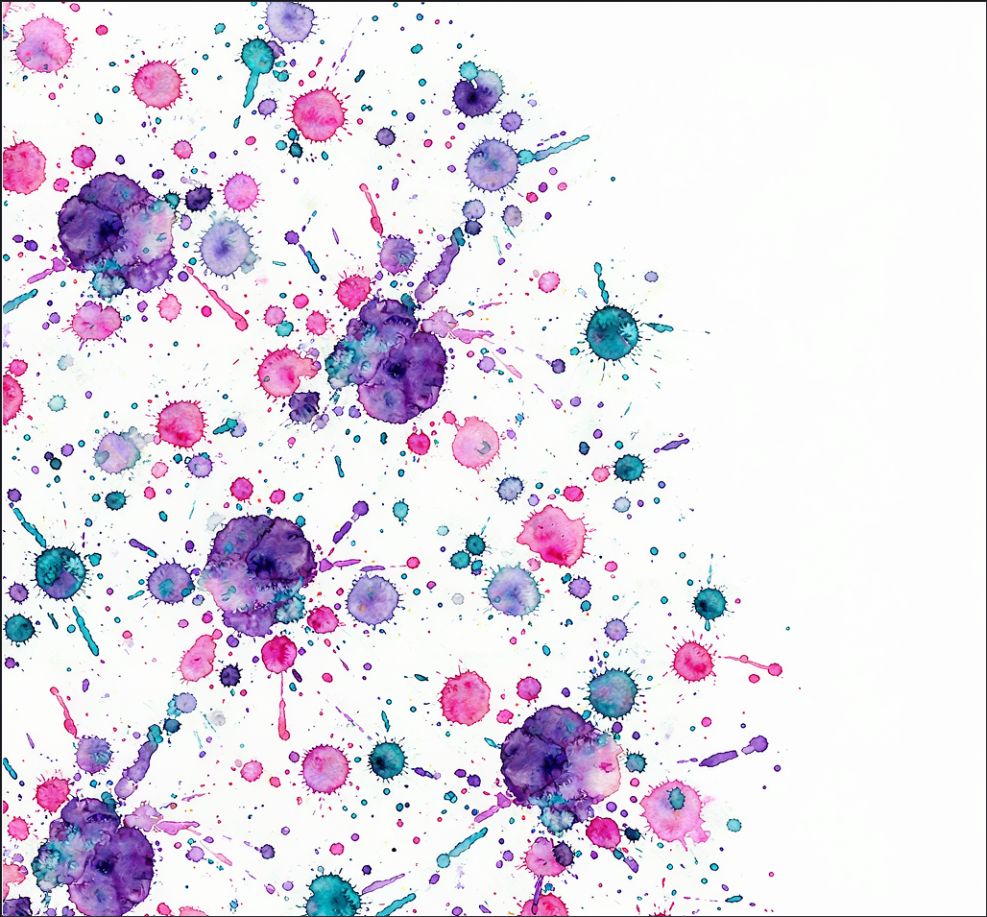

Open your base image, then drag a second image (texture, light leak, sketch) onto the canvas — it lands as a new layer on top. The right-hand Layers panel lists both.
With the top layer selected, go to Layer -> Composition. A dialog opens with the full blend-mode dropdown and live preview on the canvas behind it.
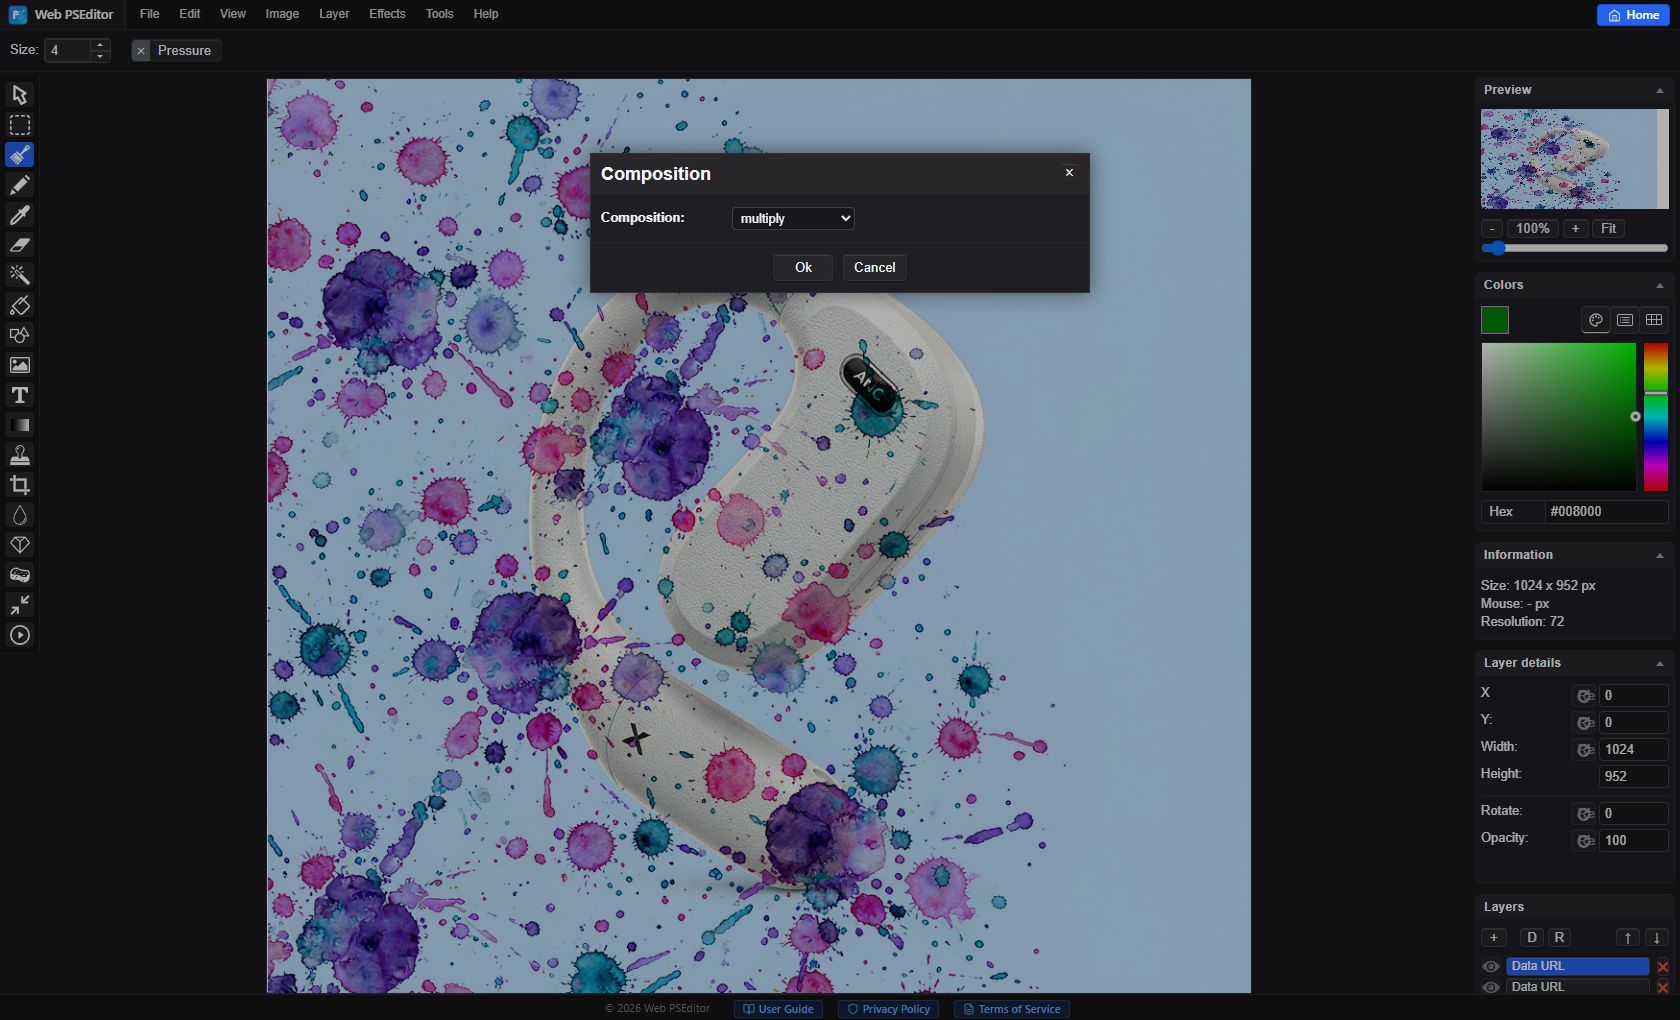
Choose multiply to discard white, screen to discard black, or overlay for punchy contrast. Click OK to commit — the original layers stay untouched, so you can switch modes anytime.
The Blend Modes That Matter Most
| Mode | What it does | Classic use cases |
|---|---|---|
| Multiply | Discards pure white, keeps dark areas | Blending signatures, line art and sketches onto backgrounds without erasing |
| Screen | Discards pitch black, keeps highlights | Sparks, lens flares, smoke and bokeh on black-background stock overlays |
| Overlay | Boosts contrast, mixes light and shadow | Cinematic textures, grunge paper, dramatic color grading |
| Soft Light | Gentler version of Overlay | Subtle vintage tone, skin-friendly texture washes |
| Difference / Exclusion | Inverts overlapping areas | Psychedelic posters, aligning two versions of a photo |
- Blending the wrong layer — the mode applies to the selected layer only. Check which layer is highlighted before opening Composition.
- Expecting opacity to fix contrast — if Multiply looks too strong, drop the layer's Opacity (e.g. 60–80%) instead of switching modes back and forth.
- Flattening too early — once merged, blend modes are baked in. Keep layers separate until the final export.
- Using JPEG sources for overlays — JPG compression halos around black/white areas become visible after blending. Prefer PNG overlays.
Frequently Asked Questions
Where is the blend mode option in Web PSEditor?
Select a layer, then open Layer -> Composition in the top menu. The dropdown contains all canvas blend modes — Multiply, Screen, Overlay and more.
Why did my texture disappear completely after choosing Multiply?
Multiply keeps only darker pixels. If your texture is mostly white on a light background, very little remains — try Screen for dark backgrounds, or Overlay for balanced contrast.
Can I animate or toggle the effect later?
Yes. Blend modes are non-destructive. Reopen Layer -> Composition at any time, or hide the layer with the eye icon to compare before/after.
Do blend modes work with adjustment filters?
They combine well: put a color gradient layer on Overlay, then add photo filters on the base layer — both stack non-destructively.
Is any of this uploaded to a server?
No. Layer compositing runs 100% in your browser; nothing ever leaves your device.
Related Tutorials
No software installation required. Apply this technique in your browser right now—100% private and secure.