How to Resize, Crop & Compress Images Online
Gov/exam portals frequently enforce strict constraints like "less than 100KB" or "exact 600x800 resolution". Use Web PSEditor to comply without sacrificing quality — resizing and compression both happen locally in your browser, so even sensitive documents stay on your device.
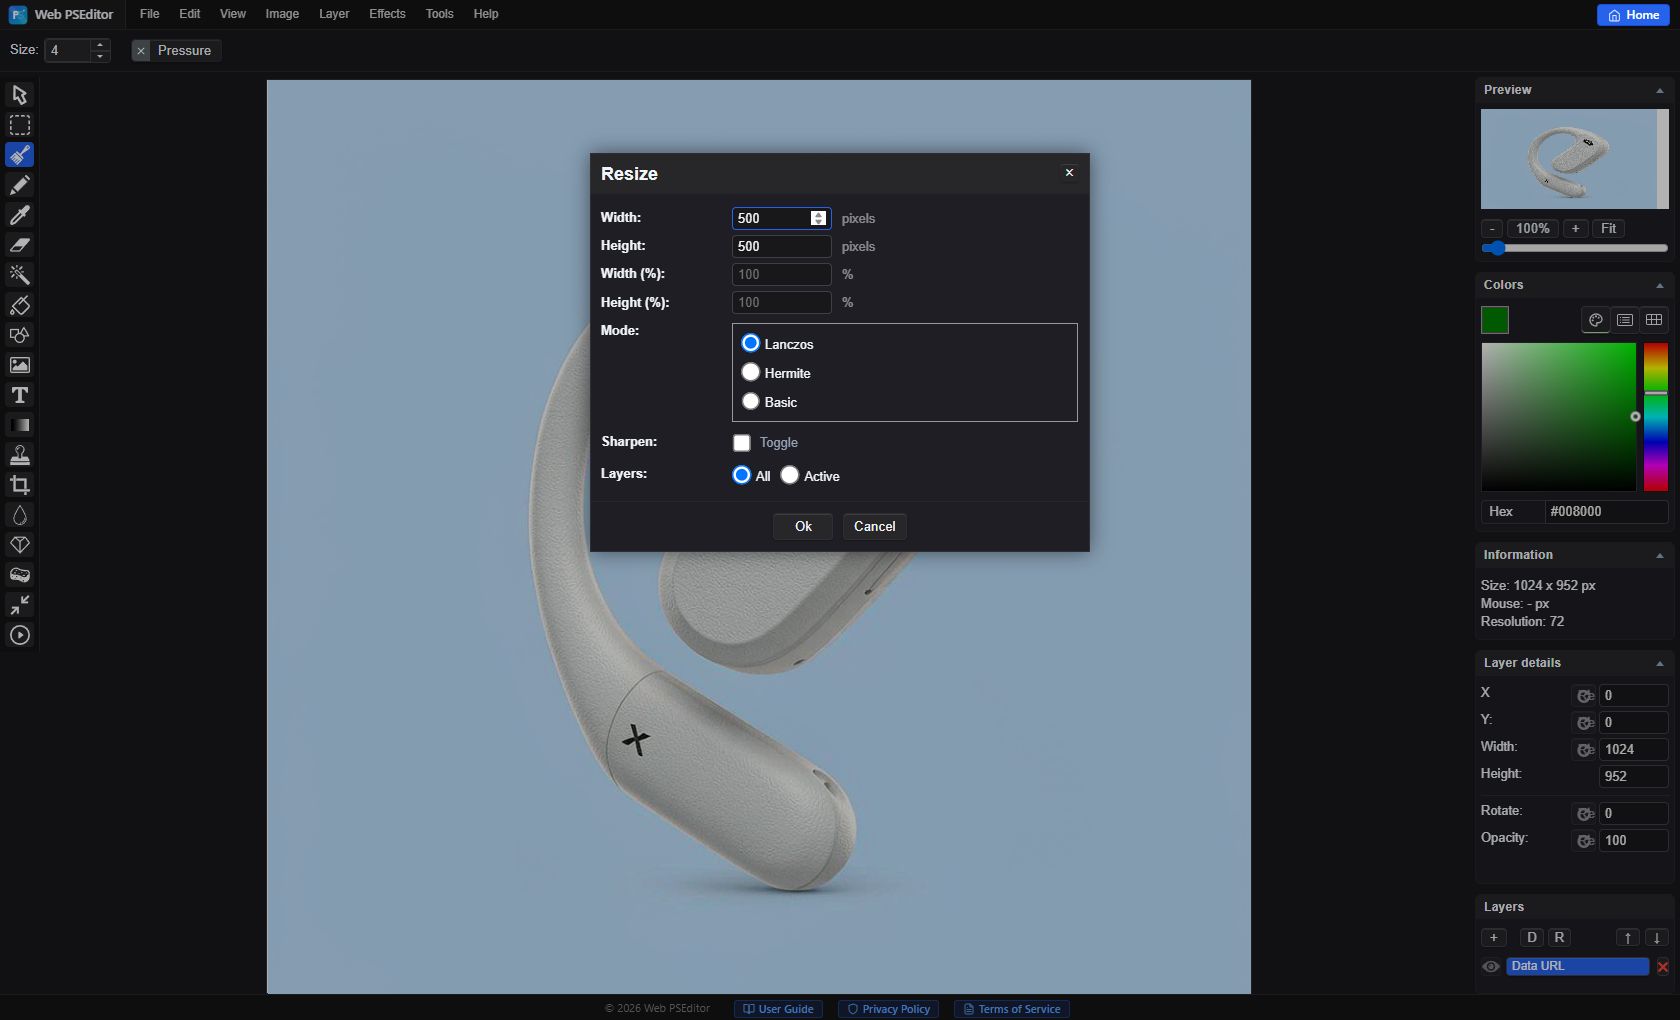
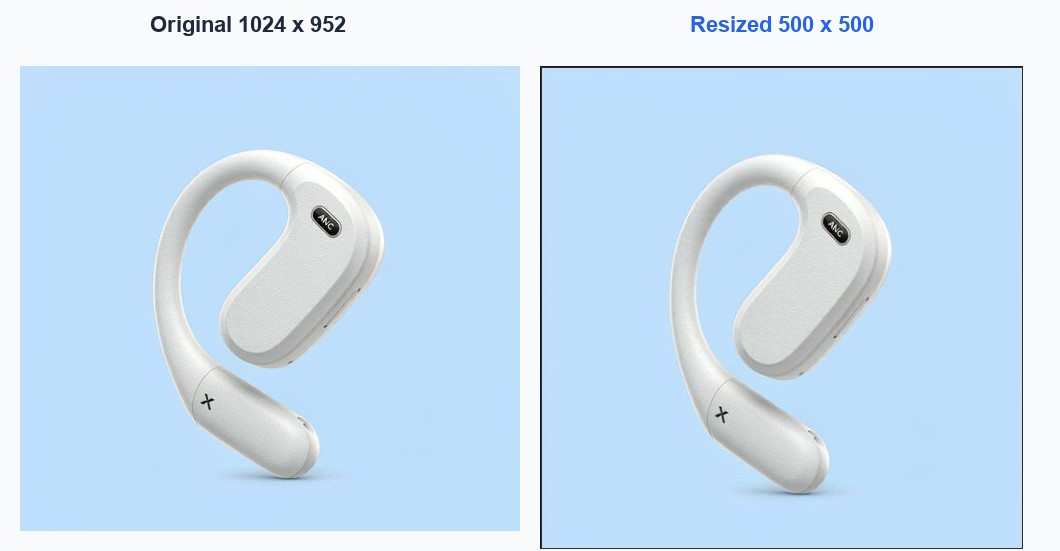
Choose Image -> Resize, enter your required width/height (the percent fields are handy for quick scaling like 50%), pick the Lanczos mode for the sharpest downsampling, and click OK. The whole canvas and all layers are rescaled in one go.
Click File -> Save As -> JPG. Fine-tune the Quality slider (75%-85%) to compress file size instantly — the estimated file size updates as you drag.
Common Upload Requirements Cheat Sheet
| Scenario | Typical requirement | Recommended settings |
|---|---|---|
| Exam / gov portal photos | 600x800 px, under 100 KB | Resize to exact pixels, export JPG at quality 75–80% |
| E-commerce product images | 800x800 or 1000x1000 px, white background | Square crop + resize, JPG quality 85% |
| Email attachments | Under 1–2 MB total | Longest edge 1600 px, JPG quality 80% |
| Web page images | As small as possible, still sharp | Export WebP, quality 75–85% |
- Resizing in multiple small steps — repeatedly shrinking degrades sharpness. Go from original to final size in one pass.
- Enlarging small images — upscaling adds blur and artifacts; reshoot or re-export from the source instead.
- Crushing quality below 60% — visible block artifacts appear around text and edges. 75–85% is the sweet spot.
- Forgetting aspect ratio — changing only width or height stretches people and products. Scale both, or crop first then resize.
Frequently Asked Questions
My file must be under 100KB but resizing alone is not enough. What else can I do?
Lower the JPG quality slider step by step — 80%, then 75%, then 70%. Each step roughly halves the size from the previous quality tier. A 500–800 px image at quality 75% usually lands well under 100 KB.
Which is smaller for the same look: JPG or WebP?
WebP is typically 25–35% smaller than JPG at equal visual quality. Use WebP for websites, and JPG where a portal only accepts classic formats.
Does Web PSEditor resize in proportion automatically?
The Resize dialog exposes width, height and percent fields independently. Enter only one percent field as 50 and the other as 50 to keep proportions; for exact pixel pairs, input both values.
Will compression leak my documents to the cloud?
No. Resizing, quality compression and export all run inside your browser — the file never leaves your device.
Can I resize only one layer instead of the whole image?
Yes. In the Resize dialog set Layers: Active, and only the selected layer is scaled while the canvas keeps its size.
Related Tutorials
No software installation required. Apply this technique in your browser right now—100% private and secure.