How to Cut Out Image & Export Transparent PNG Online
Creating product cards, logos, or stickers requires isolated transparent backgrounds. Follow this 3-step guide using Web PSEditor to create transparent PNG graphics easily — everything runs locally in your browser, so your images are never uploaded.


Drag and drop your file into Web PSEditor (or File → Open). Ensure the layer is selected in the right-hand layer dock.
Choose the Magic Eraser Tool (magic wand icon) from the left toolbar and click once on a uniform background — every pixel of the same color disappears instantly. If the background has gradients or soft shadows, raise the Power value in the top bar to about 20–60, then click any leftover corners to clean them up. For detailed edges, use Lasso / Polygonal Select instead, then press Delete.
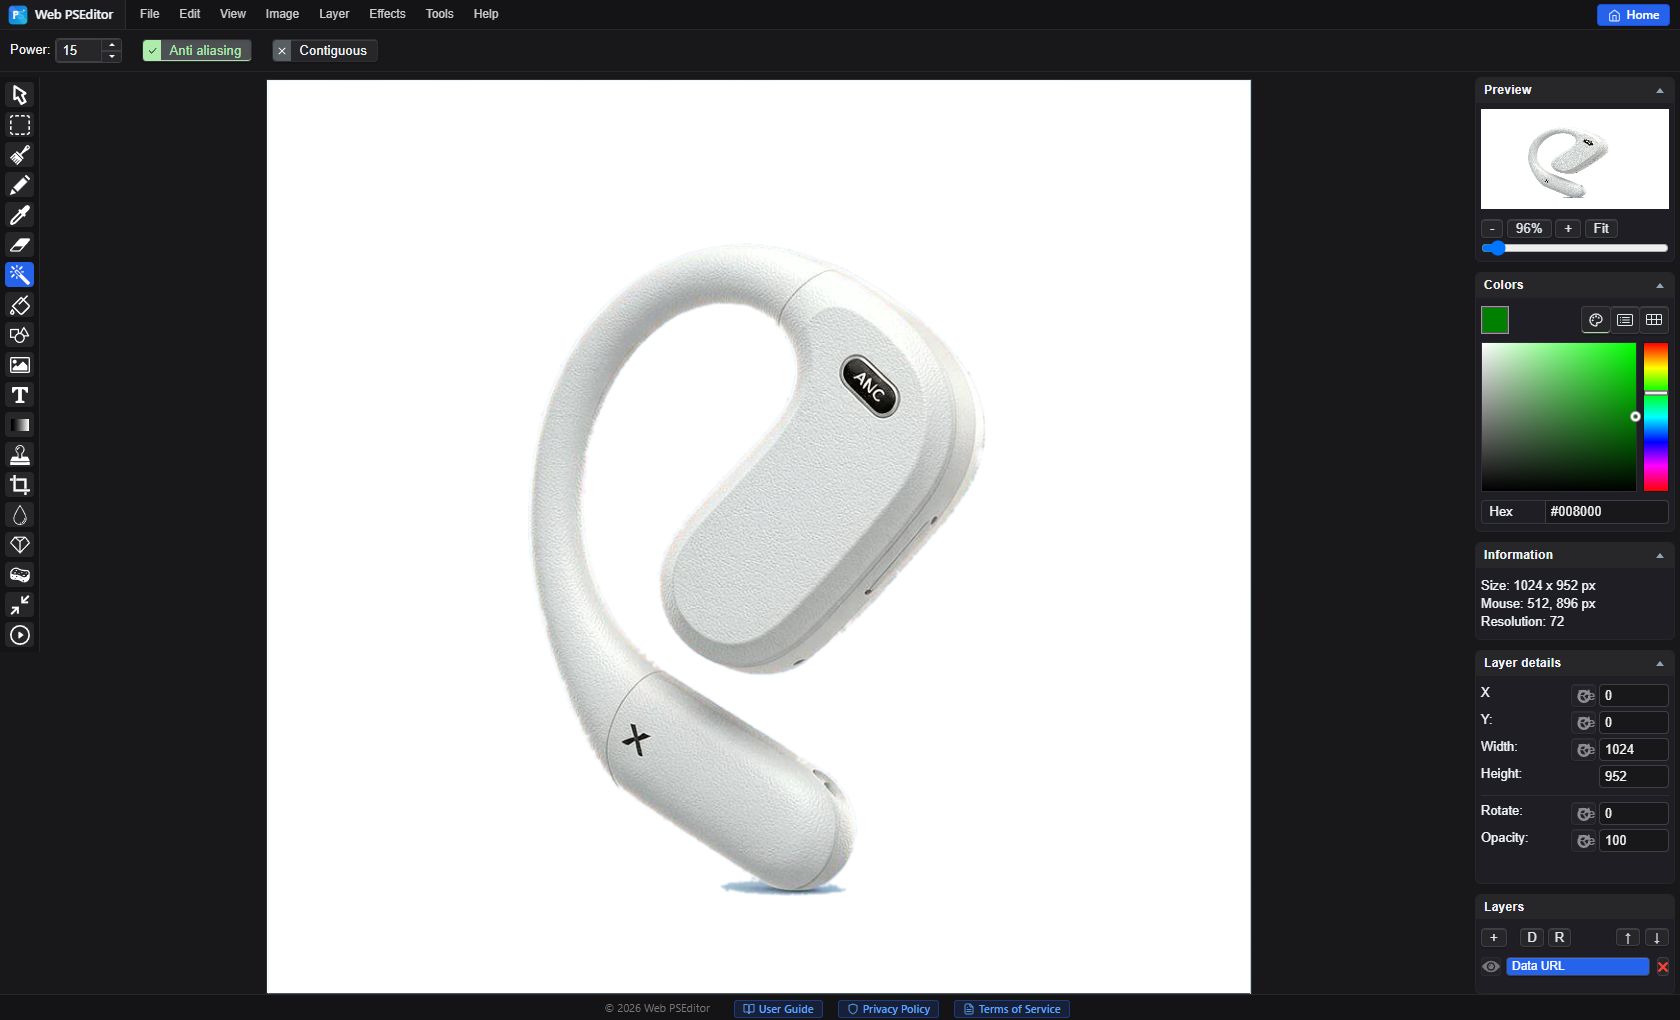
Click File → Save As and pick PNG (or WebP). JPG has no alpha channel — saving as JPG paints the background white again.
Which Selection Tool Should You Use?
| Tool | Best for | How it works |
|---|---|---|
| Magic Eraser | Solid or gradient uniform backgrounds (e-commerce photos, portraits) | One click removes all similar-colored pixels; adjust Power for tolerance |
| Lasso | Freehand outlines around irregular subjects | Draw the outline manually, then delete the selection |
| Polygonal Select | Boxy products, buildings, geometric logos | Click point by point to trace straight edges precisely |
- Exporting as JPG — the alpha channel is discarded and the background turns white. Always choose PNG or WebP.
- Too low Power on gradient backgrounds — leaves ghost patches in the corners. Raise it to 30–60 and click the leftovers again.
- Skipping the edge check — zoom to 200% and inspect hair or glass edges; a visible halo means one more erase pass with a lower Power is needed.
Frequently Asked Questions
Why is my exported image still white where the background should be transparent?
You most likely saved as JPG. JPG does not support transparency — re-export and choose PNG (or WebP) as the file format.
The background has a slight gradient and the first click missed parts of it. What now?
Increase the Power (tolerance) value in the top attributes bar to about 30–60, then click the remaining areas. Repeated clicks are non-destructive — press Ctrl + Z to undo at any time.
Can I keep a soft natural shadow under the product?
Yes. Lower the Power so only the flat background color is removed, or erase the background with the Lasso tool and leave the shadow area untouched.
Is my image uploaded to a server?
No. Web PSEditor runs 100% client-side — the image is processed in your browser's memory and never leaves your device.
Which formats support transparency?
PNG and WebP both keep the full alpha channel. GIF supports only 1-bit transparency, and JPG supports none.
Related Tutorials
No software installation required. Apply this technique in your browser right now—100% private and secure.