How to Add a Text Watermark to Photos Online (Free & Private)
You spent hours shooting and editing the perfect photo, posted it online, and a day later it's reposted by someone else with no credit. Adding a text watermark is the simplest, most effective defense: even if your image gets reposted, everyone can see where it came from. Most online watermark tools require uploading your photos to their servers — a real risk for unreleased work and commercial images. With Web PSEditor, all processing happens locally in your browser, so your images never leave your machine.
The Result: Before vs After


Step 1: Open the Editor and Load Your Image
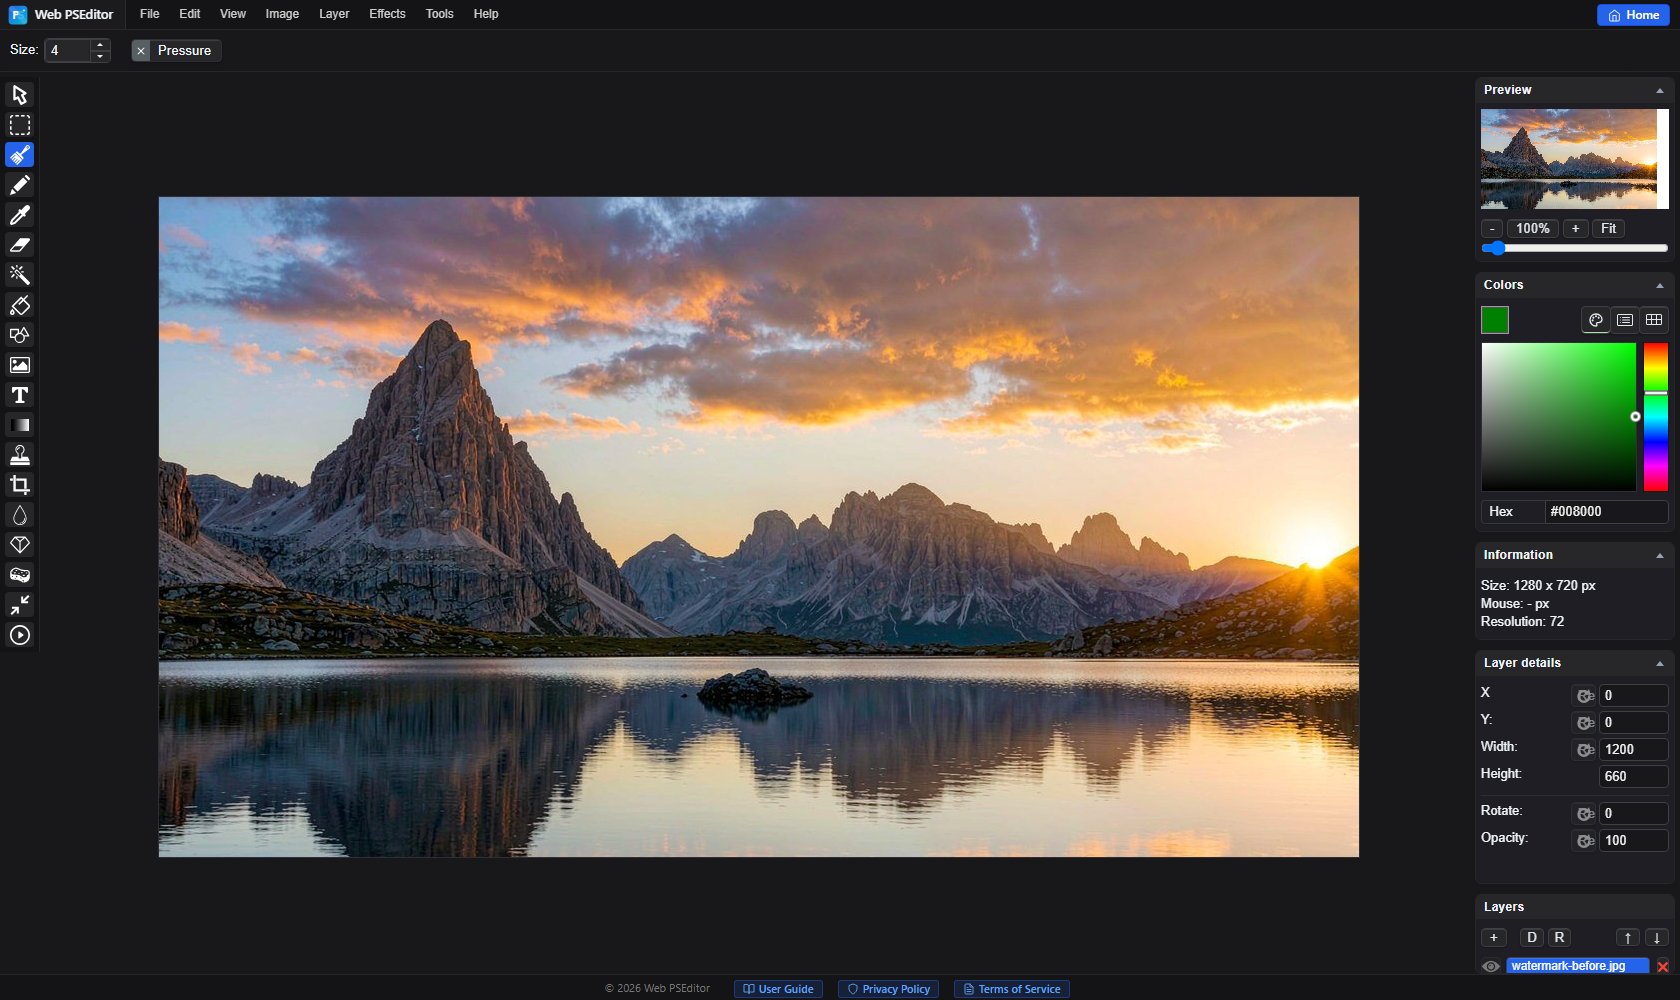
Open Web PSEditor, click File → Open and pick the photo you want to protect. Once loaded, the canvas info and layers panel appear on the right:
1. Select the Text tool (T icon) in the left toolbar and click where you want the watermark.
2. Type your signature, e.g. Photo by Your Name, then set the font size and color (white or light gray works best).
3. In the layers panel, set the text layer's Opacity to 60–70% — visible but not distracting.
4. For a tilted look, select the layer and use Edit → Free Transform to rotate about -30°.
A single watermark is easy to crop out. Tiling covers the whole image:
1. Create one text watermark layer as in Option A.
2. Duplicate the layer in the layers panel and drag the copy to a new spot; repeat until the canvas is covered (that's the style used in our demo image).
3. Select all watermark layers and set Opacity to 30–40% for a clean, subtle look.
4. Pro tip: hold Shift while dragging to keep rows and columns perfectly aligned.
Go to File → Save As and choose a format: use JPG (quality 85+) for web sharing and product photos, or PNG when you need transparency. The exported file ships with your watermark built in.
Open the editor and watermark your own photo right now — no account, no upload.