Sharpen a Blurry Photo (Without the Crunchy Halo)
Sharpening does not add detail. It raises contrast along edges that are already there, so the eye reads the boundary as crisper. That definition explains both what the tool can do and why overdoing it looks worse than the original blur: push it far enough and every edge grows a light-and-dark halo that was never in the scene.
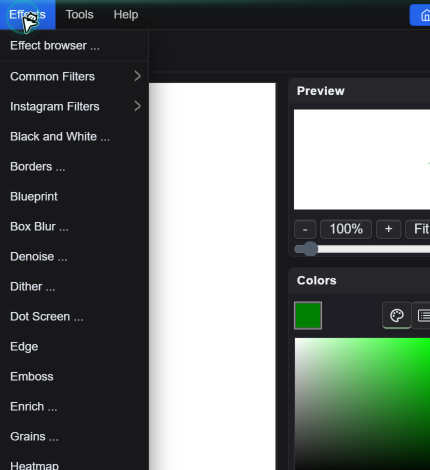
The tool here is a single control: Effects → Sharpen, with a Factor from 1 to 10 (step 0.1, default 3). One number, so the outcome depends almost entirely on the order you use it in and the zoom level you judge it at.
Three Kinds of Blur, One Fixable
| Cause | Looks like | Can sharpening help? |
|---|---|---|
| Slight focus miss or soft lens | Uniform softness across the frame | Yes, mildly. Factor 2–4 recovers apparent crispness |
| Downscaling | Fine texture flattened | Yes. Resize has its own Sharpen checkbox for this |
| Motion blur or out-of-focus subject | Directional streaks, or one area sharp and another not | No. Sharpen adds contrast, it cannot re-create a direction of movement |
If the subject is smeared along one axis, no factor will bring it back — you get a smeared image with hard edges, which is worse than a soft image that reads as soft. Recognising this early saves twenty minutes of slider hunting.
The Order That Matters More Than the Number
A high-ISO photo sharpened before denoising amplifies the grain into clumps. Run Effects → Denoise at a low exponent (10–20) first, then sharpen. The two effects fight each other; whatever you do first survives.
If the image must become smaller, shrink it with Image → Resize, Mode Lanczos, Sharpen ticked. Downscaling always softens; this pass compensates once, at the moment the pixels are rebuilt. Sharpening after the resize gives a similar result, but doing it inside Resize avoids stacking two passes.
Sharpen at the resolution the image will be viewed at. A factor tuned at 3000 px looks weak at 1200 px, and a factor tuned on a thumbnail looks like sandpaper at full size. Do the resize first, then sharpen, then export — no further resampling.
Choosing the Factor
- 1–2: barely visible correction. Right for already-sharp photos that only lost a little edge definition in resizing.
- 2–4: the working range for most photographs. At Factor 3 the effect reads as "this looks like the original file" rather than "this was edited".
- 4–6: visible crispness for screens, thumbnails and social crops. Halos start appearing on high-contrast edges — sky against a roofline, text on paper.
- 7–10: rescue attempts only. Fine detail turns crunchy, skin texture becomes gravel, and JPEG artifacts get amplified along with real edges.
Judge at 100% zoom — the Original Size command under View → Zoom. In the fit-to-window view, a factor of 8 looks fine because the display is already averaging pixels; that is exactly the setting that ruins a print.
Local Sharpening Instead of Global
Usually only part of the frame needs it: the subject's eyes, a product's edge, the lettering on a label. Global sharpening hits the background too, which is where halos show up most obviously.
Duplicate the layer (Layer → Duplicate), apply Sharpen to the copy, then take the Eraser with a large soft brush and paint away everywhere you do not want the effect. What is erased reveals the untouched layer underneath. This gives you a sharpening mask without needing a mask tool.
What Sharpening Cannot Do
- Recover a missed focus. There is no deconvolution here. If the eyes are soft at capture, they stay soft.
- Fix motion blur. Directional smear is information loss, not contrast loss.
- Make an upscale look native. Enlarging invents pixels; sharpening those invented pixels makes the interpolation more obvious.
- Repair JPEG blocking. Sharpening amplifies the 8×8 grid. Denoise first, or accept a softer image.
A Short Workflow
Denoise (10–20) → Resize to final size with Sharpen ticked → Sharpen at Factor 2–4 → check at 100% → export. If the result looks worse than the untouched file at any point, undo and stop there. Undo is free; a crunchy export that has already been sent is not.
Quick Answers
My photo is still blurry after sharpening at maximum. Why?
Sharpen raises edge contrast, it does not reconstruct lost detail. If the blur came from a missed focus or motion during the exposure, the information is not in the file and no factor recovers it. Maximum factor usually makes these cases worse by adding halos to a smeared subject.
Should I sharpen before or after resizing?
After — and better still, inside the resize. Set the final size first with Mode Lanczos and the Sharpen checkbox ticked, then apply Effects → Sharpen at a low factor if it still needs more. Sharpening before a downscale wastes the effect, because resampling averages it away.
How do I stop the halo around high-contrast edges?
Lower the factor, sharpen on a duplicated layer and erase the background areas, or denoise first if the image is noisy. Halos grow fastest where a very light edge meets a very dark one — sky against a roofline, white text on black — so check those spots at 100% before exporting.
Related Tutorials
Take a soft photo, sharpen at Factor 3 at 100% zoom, then push to 8 on a duplicate layer and compare the halos.